Whether you have years of experience or are just starting out, How to crochet a skirt is an intriguing and fulfilling endeavor for any crocheter. Apart from allowing you to design a distinctive, customized garment, it provides chances to investigate other techniques and designs. Together with some useful ideas and links to further resources, this article will walk you through seven basic steps to crochet your skirt. Let’s explore the realm of crochet skirts if you’re ready to tackle this creative challenge!
Table of Contents
🧶 Tools You’ll Need to Create a Skirt Crochet-wise
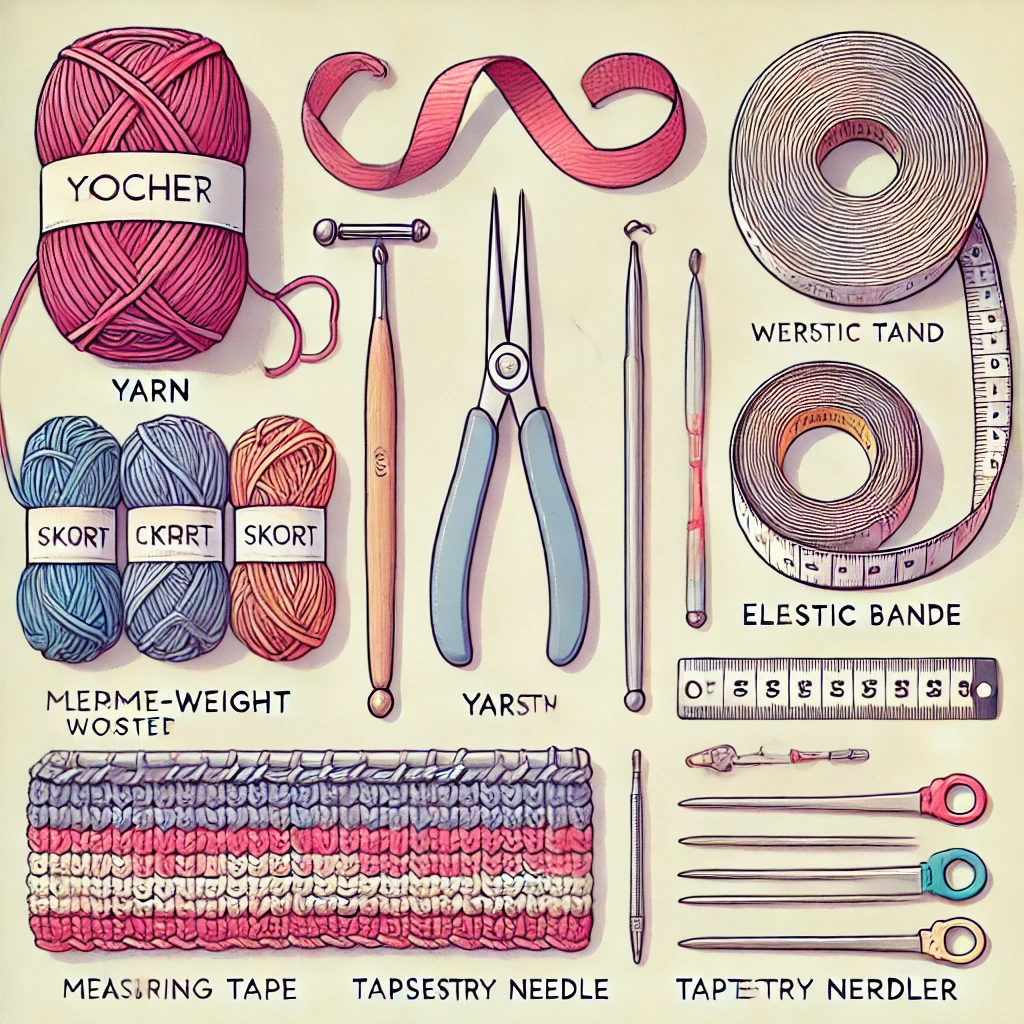
Check that you have what you need before you start:
- Yarn: For a comfortable, wearable skirt, choose a medium-weight yarn, perhaps worsted weight. Our book on the 7 Best Yarn Choices for Crocheting in 2025 has the best yarn choices for crocheting.
- Crochet Hook: Most worsted weight yarns would find a 5.5mm (I-9) crochet hook to be ideal.
- Elastic Bands: We will use elastic bands to create the waistband, ensuring a snug fit for the skirt.
- Measuring Tape: This will help you to precisely determine your waist and intended skirt length.
- Tapestry Needle: Once you’ve completed your creation, use this tapestry needle to weave in any leftover ends.
- Stitch Markers: These will enable you to monitor where your rounds begin and finish, so you can maintain a constant stitch pattern.
Methodical Guide for Skirting Crochets
Let’s go through the seven basic processes required in building your crochet skirt.
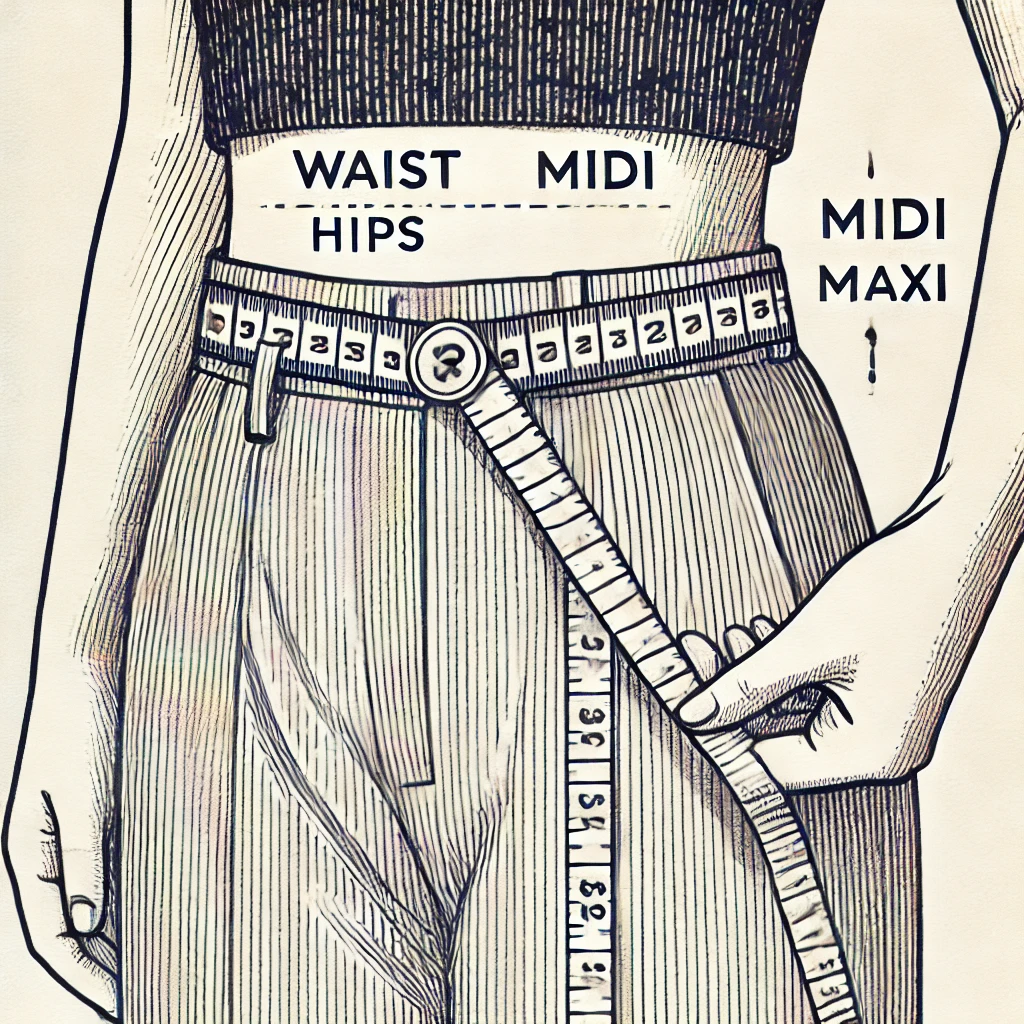
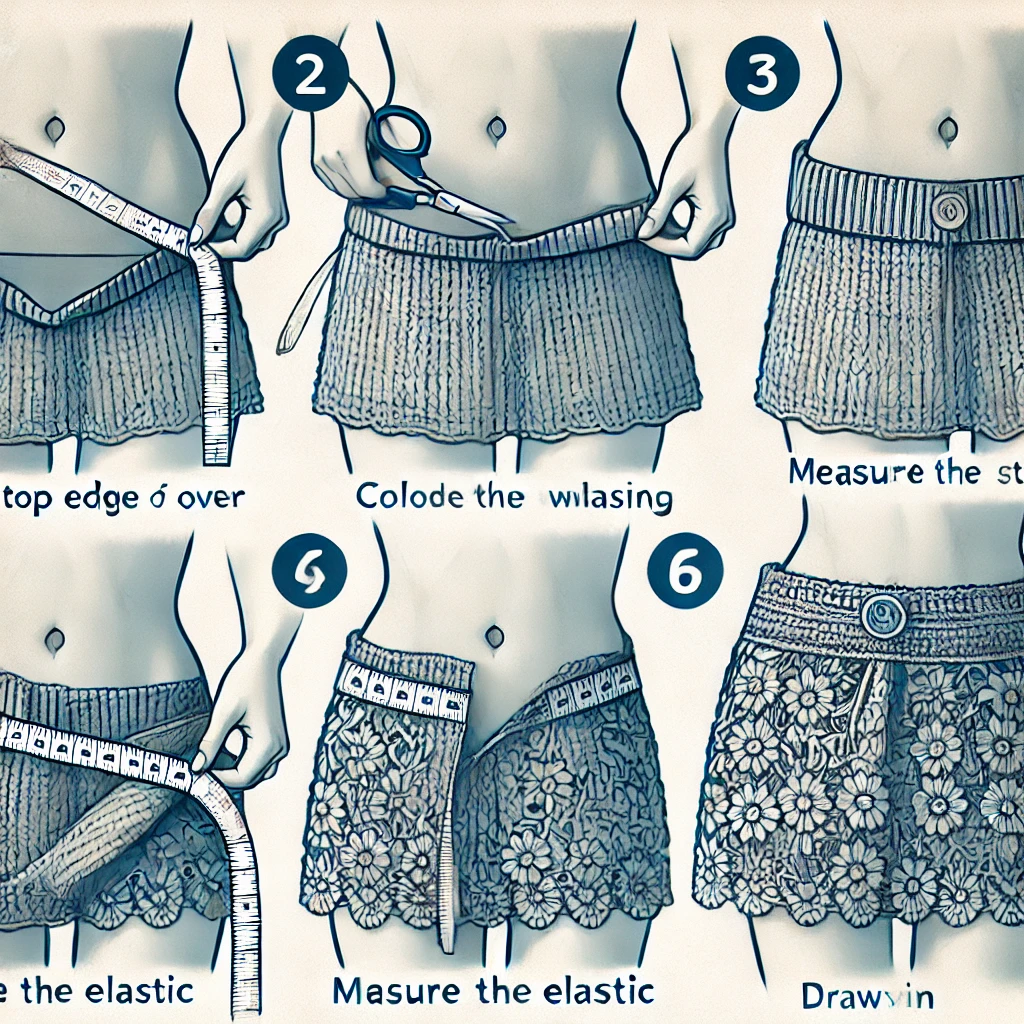
Step 1: Measure Your Waist and Desired Length
The perfect fit of your skirt depends on accurate measurements. Calculate as follows:
- Measuring from the thinnest point of your waist
- Measure around your hips, at their maximum extent
- Choose the length of your skirt—mini, midi, or maxi—based on your style
To allow for the elastic waistband’s stretch, be sure to add a small bit more room to the waist measurement.
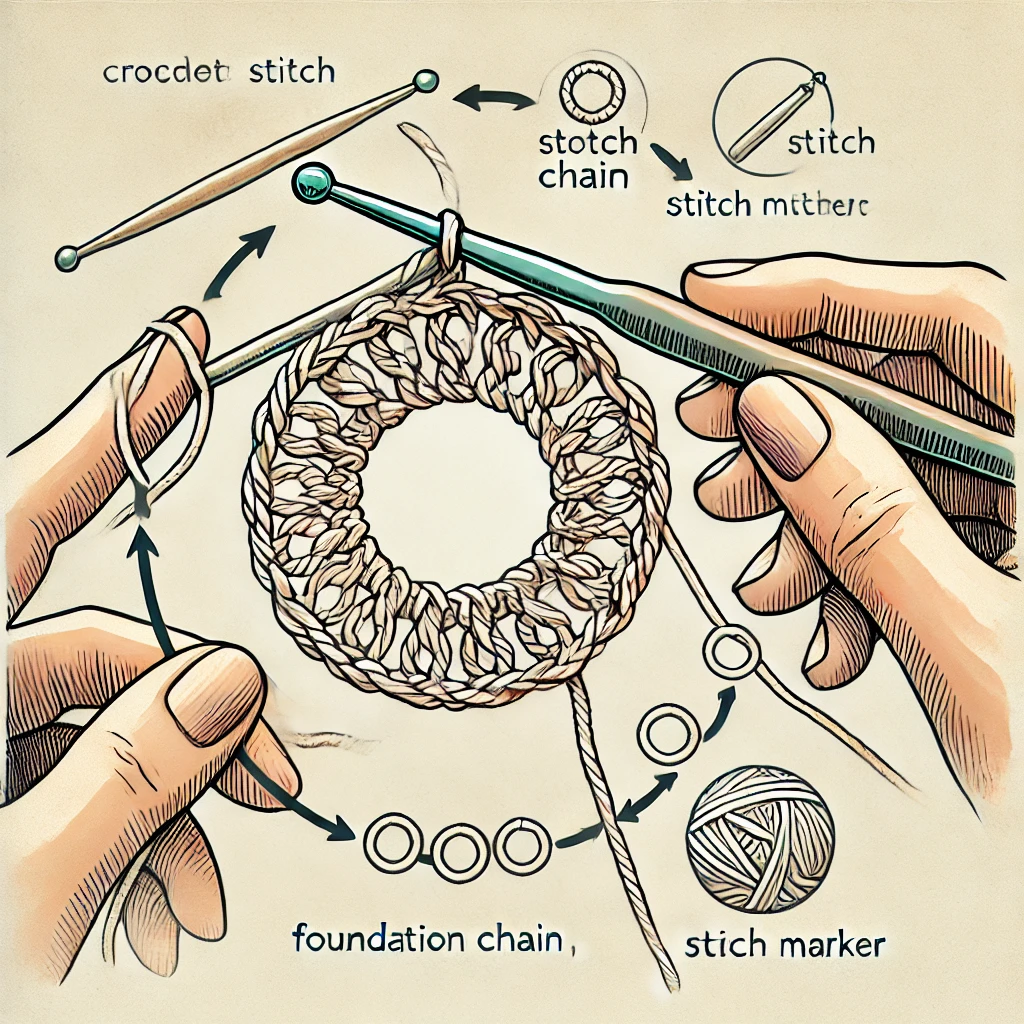
Step 2: Form the Foundation Chain
Create a foundation chain first that corresponds to your waist measurement. Long enough to fit comfortably around your waist, the foundation chain should not be overly tight. Measure the chain before linking it into a circle to ensure an elastic, comfortable fit.
- Pro Tip: Wrap your foundation chain around your waist, then combine it into a circle if you’re not sure of its length.
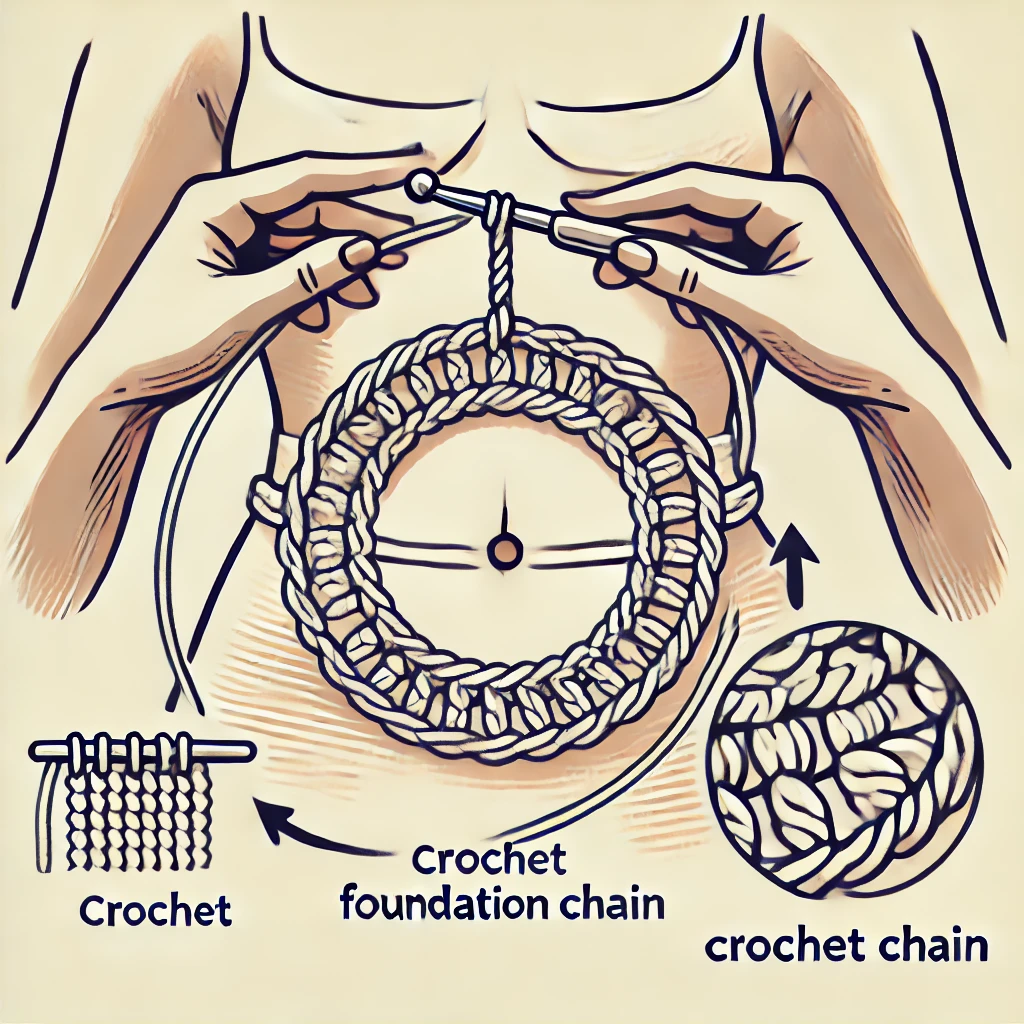
Step 3: Work in Circles
Form a ring by joining the last stitch of your foundation chain to the first. Starting in rounds, crochet using a stitch you find comfortable. If you are a novice, a basic single or double crochet stitch is a perfect beginning point.
- Tip: To guarantee your rounds are consistent and track your development, use stitch markers at the start of every round.
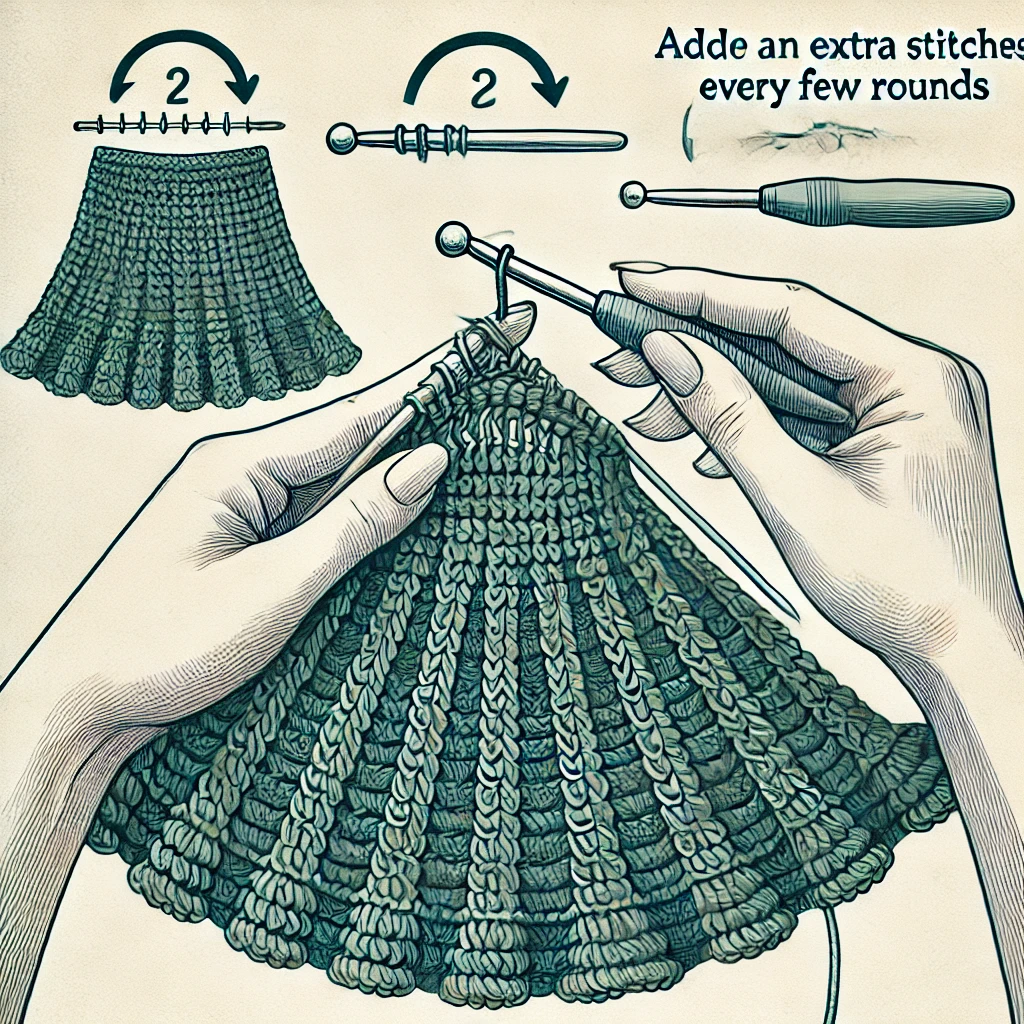
Step 4: Increase the Optional Flared Skirt’s Stitches
As you progress with the skirt, it is advisable to increase your stitches to achieve a flared appearance. This adjustment is particularly beneficial if you desire additional ease at the hips or a wider hem. If you wish your skirt to have a bit of extra leeway at the hips or a wider bottom, this is especially helpful. Simply add one extra stitch every few rounds to achieve the desired effect.
- Pro Tip: Keep the stitch count the same across the skirt’s body if you wish for a more ordered fit.
Step 5: Proceed Until Desired Length
Crochet the skirt till it reaches the length you want. As you go, make sure the skirt is the correct length for you; try it on.
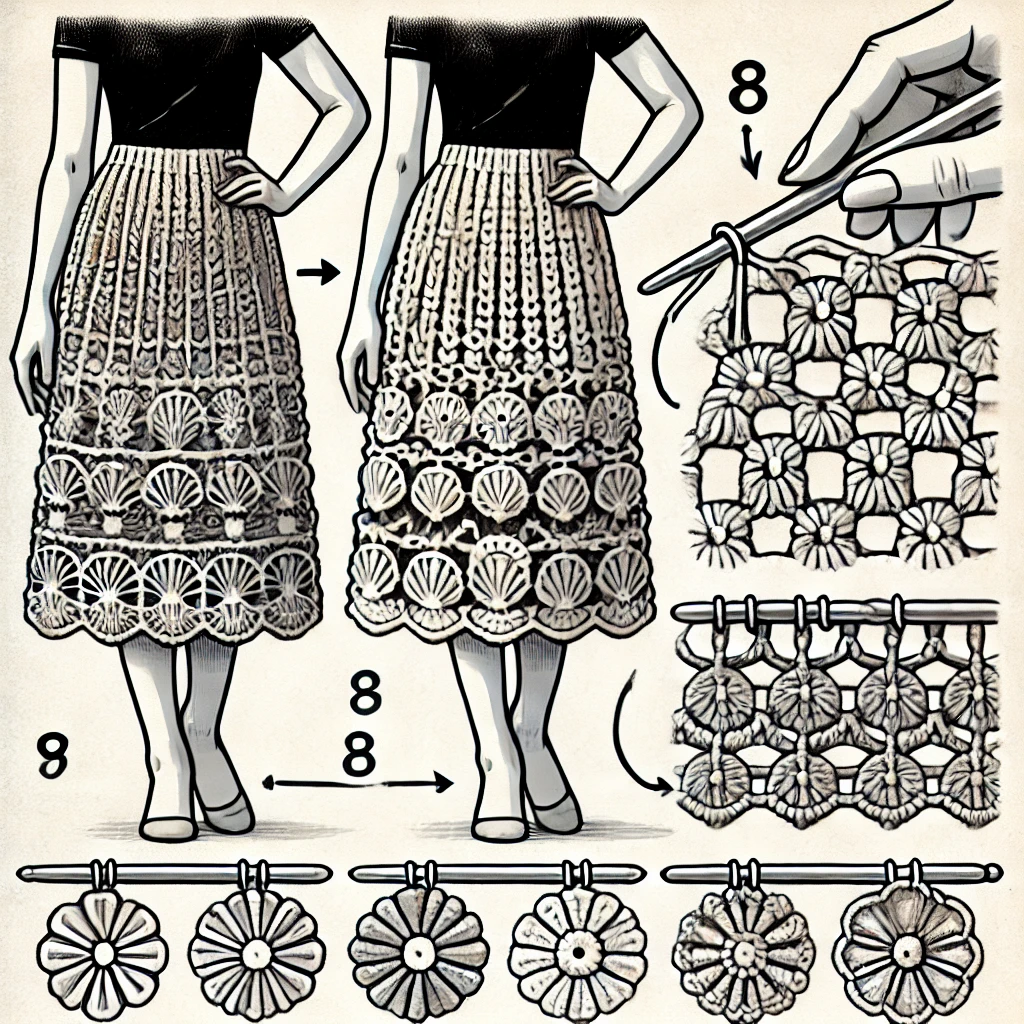
- Tip: Try experimenting with several stitch designs, including shells, bobble stitches, or fans if you would want to give your skirt texture. Such designs will provide your skirt a distinctive and textured look.
Step 6: Incorporate the Waistband
Fold the top edge of your skirt over and sew it down to form a casing for the elastic waistband. Measuring and cutting the elastic to the proper length will help you to ensure the waistband fits tightly around your waist.
- Tip: After the elastic is in place, sew the waistband closed. You might also include buttons or a ribbon as accents.
- If you want a drawstring waistband, leave a hole in the casing through which to insert a string.
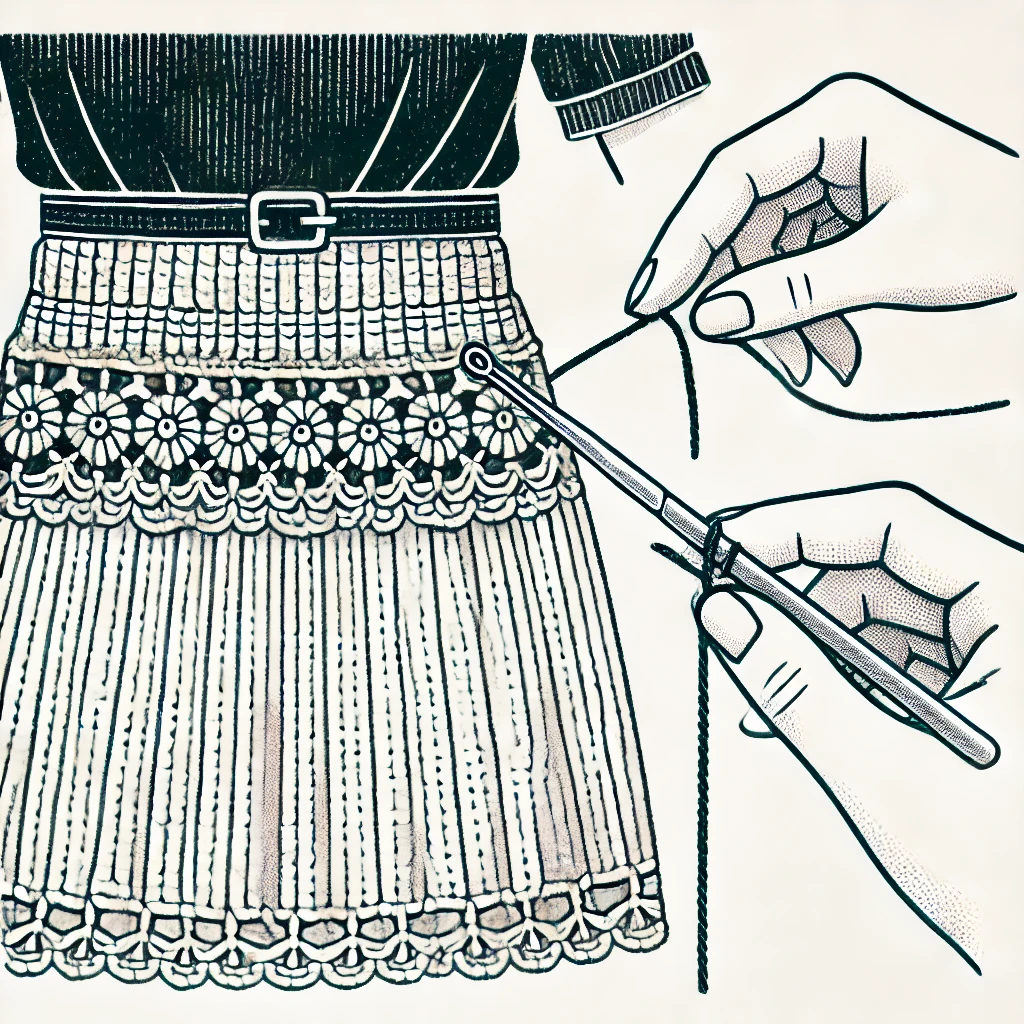
Step 7: Complete the Skirt
Weave any free ends with a tapestry needle after finishing the waistline. Please try on the skirt to assess its comfort and make any necessary adjustments.
Advice on Skirting Crocheted Goods
- Crochet a Gauge Swatch: Make sure your stitches match the specifications of the pattern. This will assist in avoiding size problems later on.
- Check Your Fit Often: Since crochet clothing stretches over time, it’s crucial to consider that during the crafting process.
- Practice Patience: Especially if you are sewing a skirt from scratch, crocheting one can take some time. Never forget to savor the artistic process!
Benefits of Handcrafted Skirt Customisation
- Your skirt is really one of a kind: You completely determine its size, style, and color.
- Making your own skirt will help you save money: It’s much cheaper compared to purchasing a similar item from a retailer.
- Wearing a garment you created with your hands makes one rather happy: There’s immense satisfaction in wearing something you made from scratch.
Drawbacks of Handcrafted Skirting
- Time-Consuming: Making a skirt can take several hours or days depending on the intricacy of your pattern and crochet degree of expertise.
- Learning Curve: Getting the fit just right may take some experience if you’ve never crocheted clothing.
- Material Costs: Particularly if you are creating a longer skirt, premium yarn and supplies can mount quickly.
Additional Crochet Resources
If you’re looking to expand your crochet skills further, check out these helpful resources:
- Crochet Store Near Me: 7 Amazing Places Every Crafter Should Visit in 2025!
- 10 Stunning Crochet Bag Designs You Must Try in 2025
- The Ultimate Guide to Choosing the Best Yarn Manufacturer in 2025
- Crochet Teddy Bear Pattern: 7 Adorable Designs You Must Try in 2025!
- Crochet Scarf: 7 Beautiful Designs You Must Try in 2025!
- Crochet Yarn: 7 Best Options for Your Next Project in 2025!
- Magic Circle Crochet: The Ultimate Guide to Mastering This Essential Technique in 2025!
- Magic Ring Crochet: The Ultimate Guide for Beginners in 2025!
- Love Crochet? You’ll Love This!
- The Ultimate Guide to Wool Yarn for Crochet: 7 Reasons Why It’s Perfect for Your Projects in 2025
- The Ultimate Guide to Fingering Yarn: Why It’s Perfect for Your Crochet and Knitting Projects in 2025
Also follow our Page @ayush.crafts
Conclusion
Crocheting a skirt is a fulfilling and creative project that lets you express your unique style. With the right materials, patience, and a little practice, you can create a beautiful, custom skirt that fits perfectly. Follow these 7 easy steps, and you’ll be wearing your very own handmade skirt in no time!
2 Replies to